How Many Bowls Does it Take to Fill the Albert Hall?
Now Playing: Chopin, Waltz in D minor
Topic: Pipe 4: OCT06 -SOLD-
Two posts today because tommorow is Halloween and i don't think I'll get down to the shop.
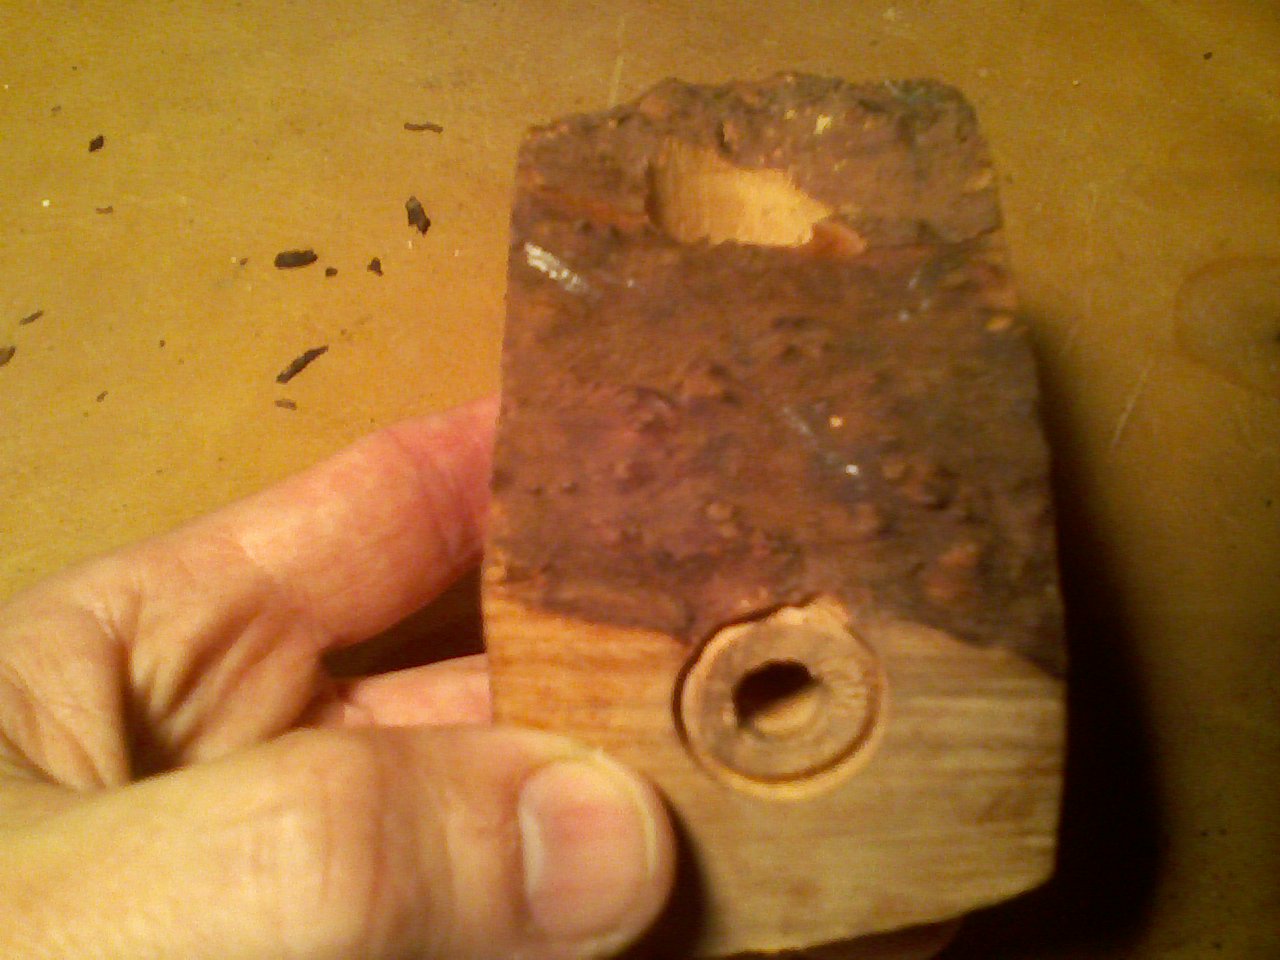
More about the hole, just when I thought it was perfect, I find it could be perfecter. I feared that I would go beyond perfect to the point where the hole went too far below the airhole. The Pimo guide says that this makes it impossible for the smoker to smoke to the bottom, thereby leaving the heel of the bowl wet and prone to souring.
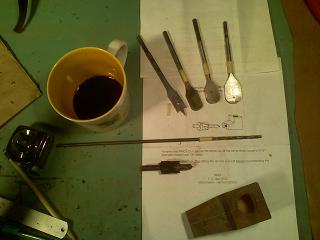
It was asked of me The size of the hole, and if the stem is round or Oval. The stem is round.
- Tobacco Hole Depth
- Tobacco Hole Width (inside of course)
- Total Length (includes stem of course)
- Height of Bowl
 So, I did make the bowl a little deeper and am glad that I asked. I am also glad I listened! I have always believed, "If its worth doing, its worth doing right." On that note, I was reading in The Pipe Companion about Danish pipemakers. It mentions that they strive to make their pipes perfect.
Danish pipemakers do seem 100% committed to perfection, but more importantly they define perfection differently. What their definition is, I do not know. It varies from maker to maker I am sure. I think they afford themselves a different definition from pipe to pipe as well which is what makes some of their pipes masterpieces.
I see on the internet, pipemakers all over the world sitting behind bins of briar stummels which are considered "waste." I think in this industry they are referred to as firewood. I can't imagine they actually burn them. There must be a market somewhere for these "seconds?" What to they do with them?
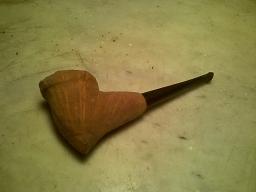
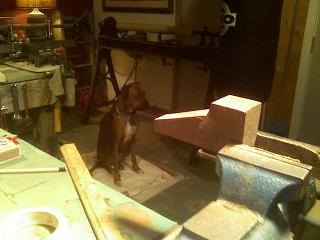
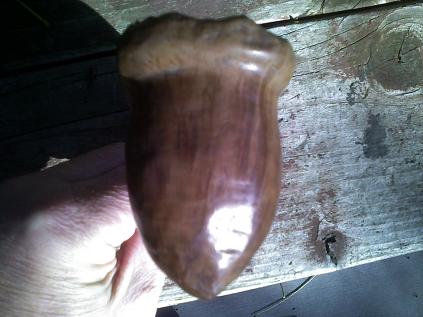
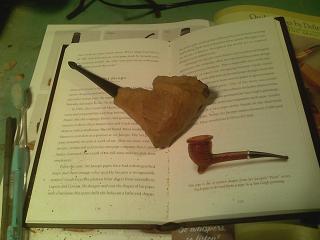
Pipe 4 seems a little farther away from being finished than it did yesterday, but that is what pipemaking is all about. A pitfall maybe, an opportunity defineately.The shadows take away from the actual shape, and for that I appologize. But, I am sure you get the gist.
I also need to get a better representation of the lip of the bowl. As you get to the stem side of the bowl, it "unfolds" downward. The picture makes it appear as if it in fact disappears.
I need to include pictures from the stem towards the bowl, or as I will refer to as "Point of view." (POV) Anyway, think of the cap of the bowl as being the combination of: top of an acorn combined with a flower in bloom. The top of the bowl is the outside of the rootball, with the skin taken off with a wire brush.
On this pipe, i will stain the top of the bowl and the lip walnut. I think in future pipes I will lose the lip and probably stain the top walnut. We'll see. . . .
Posted by thos.martin
at 10:26 PM EST
Updated: Sunday, 26 November 2006 5:07 PM EST


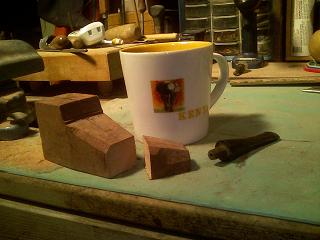
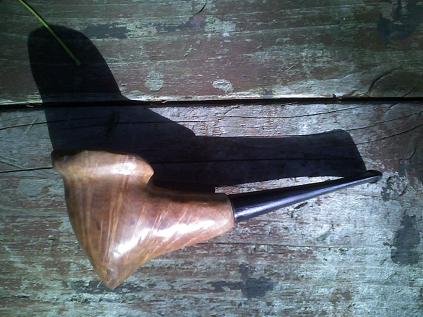
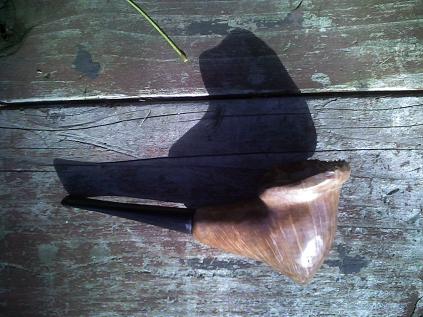
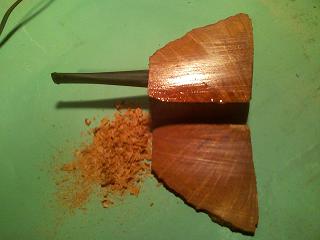
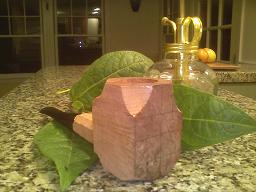 Here you see Pipe 5 taken shape after the coping saw. The top will be round, and then there is a hip where it squares off a bit. see prior castle pics posted.
 ...I'm still loving the shop pipe (Pipe 3) but the rum tobacco is so wet I added coke and a couple ice cubes, removed the stem, inserted straw and enjoyed it that way...
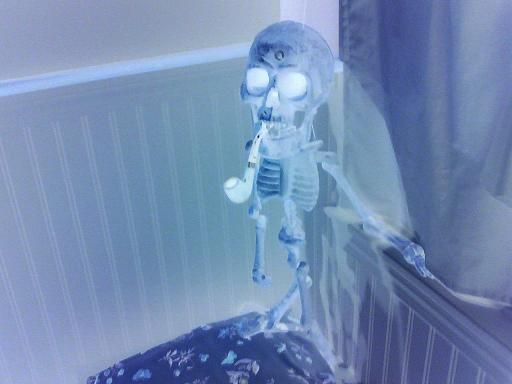
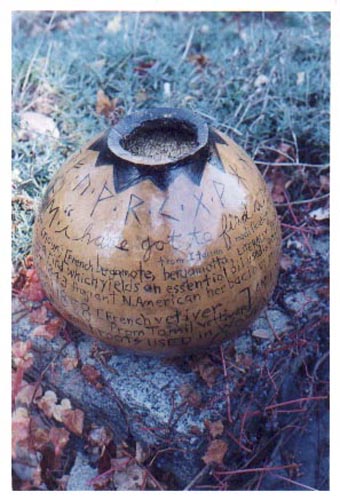 I mentioned the influence of my pyrographic experience on Pipe 6: Here is an example of my previous work:
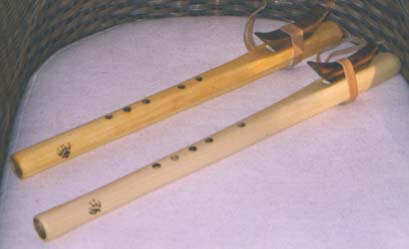
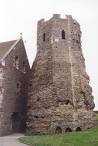 The history of Britain is intricately linked with the White Cliffs from the Roman invasion to the assault made by Germany in both World Wars. The first recorded description of Dover describes the scene that Julius Caesar saw in 55 BC when, with two legions of soldiers, he arrived off Dover looking for a suitable landing place and ' saw the enemy's forces, armed, in position on all the hills there. At that point steep cliffs came down close to the sea in such a way that it is possible to hurl weapons from them right down to the shore. It seemed to me that the place was altogether unsuitable for landing.' (Caesar's Commentaries, Book IV.)
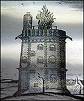 Pharos was built on the Western Heights, its remains were called in the 17th century the Bredenstone and by some, the Devil's Drop of Mortar. During excavation work for further fortifications of the site in 1861 the foundations of the tower were discovered and left exposed in the wall of the Officers' Quarters.
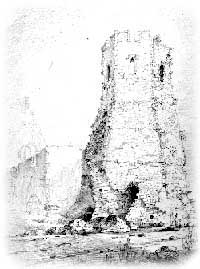 It was after the was that Castello (Castle) Pipes was born. It was 1947 and Carlo Scotti created the
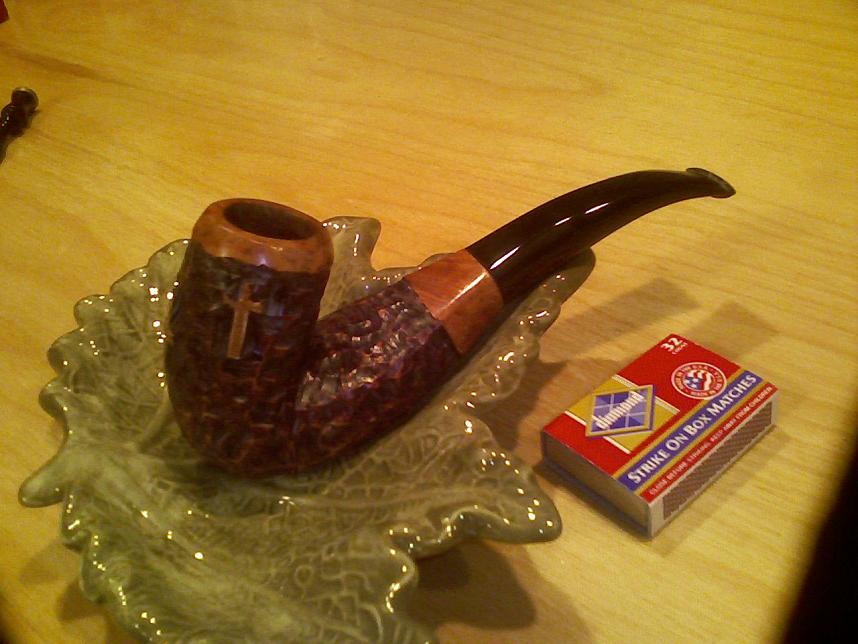
